How to geotag a photo on a computer?

There are various benefits to geotagging your photos, and doing so on your computer is one of the most straightforward ways to do it. From boosting your business SEO to letting your network know the photo location, there are many reasons that geotagging your photos might be of interest to you.
The process of geotagging your photos will depend on what you’re tagging them for and the device you’re using to do so. Some photos will automatically have a geotag attached to them, such as photos you take on your phone. But you aren’t stuck with the geotag assigned to your images. You can alter them based on your requirements.
In this article, we will go through the steps to geotag your photos in the computer for use on Google My Business and geotagging photos on your social media accounts.

Steps to geotag a photo on the computer
There are five main steps to geotag a photo on the computer:
- Upload your photo to GeoTagSeo
- Choose your geolocation by entering the address manually or finding the location on the map
- Change the image title to include information about the location
- Add a meta description to describe the location and context of the photo more thoroughly
- Apply changes and download your optimized photo.
We will now detail these five steps so you can easily geotag a photo on a computer.
1. Upload your photo to GeoTagSeo
A geotag is part of your photos metadata or EXIF data (exchangeable image file). Some photos already have a geotag attached to them, while others will not. This depends on the device used to take the photo and the settings. If you want to add a geotag to your photo or change it, you will need to use a software tool like GeoTagSeo.
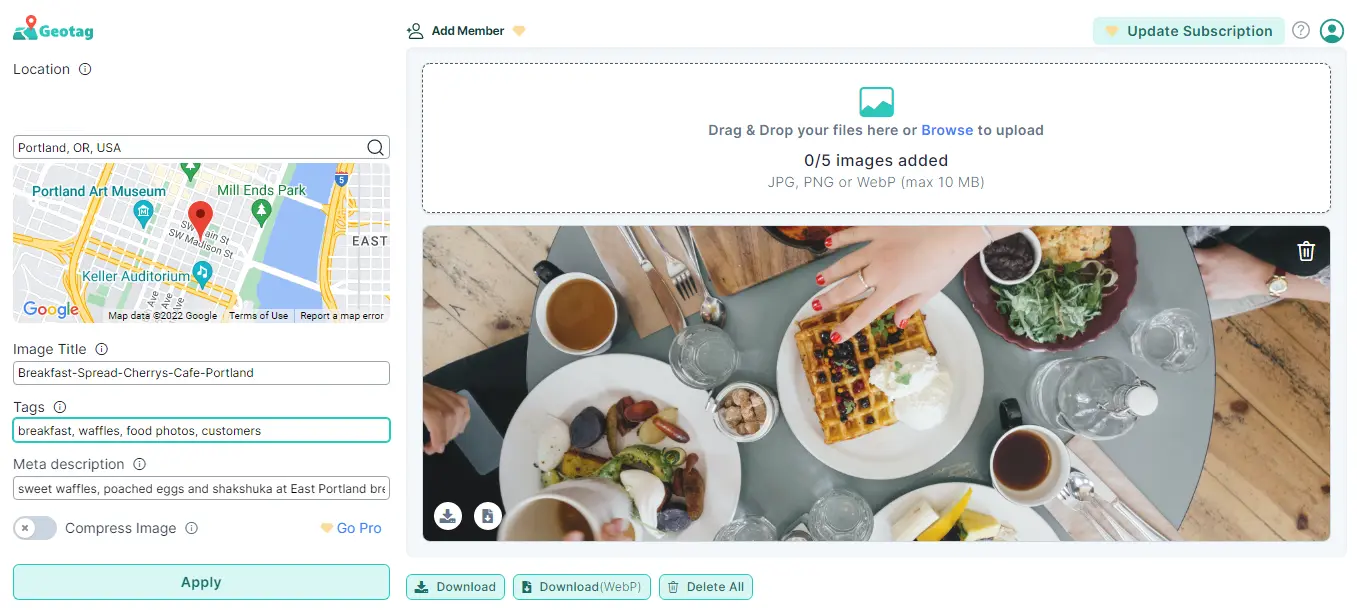
The first step is to visit GeoTagSeo.com and upload your photo. You can either browse your computer for the image or drag and drop it directly into the tool. The tool supports three file types – JPG, PNG, and WebP. Your photo must also be no bigger than 10MB. You can also geotag up to five images at one time.
2. Choose your geolocation
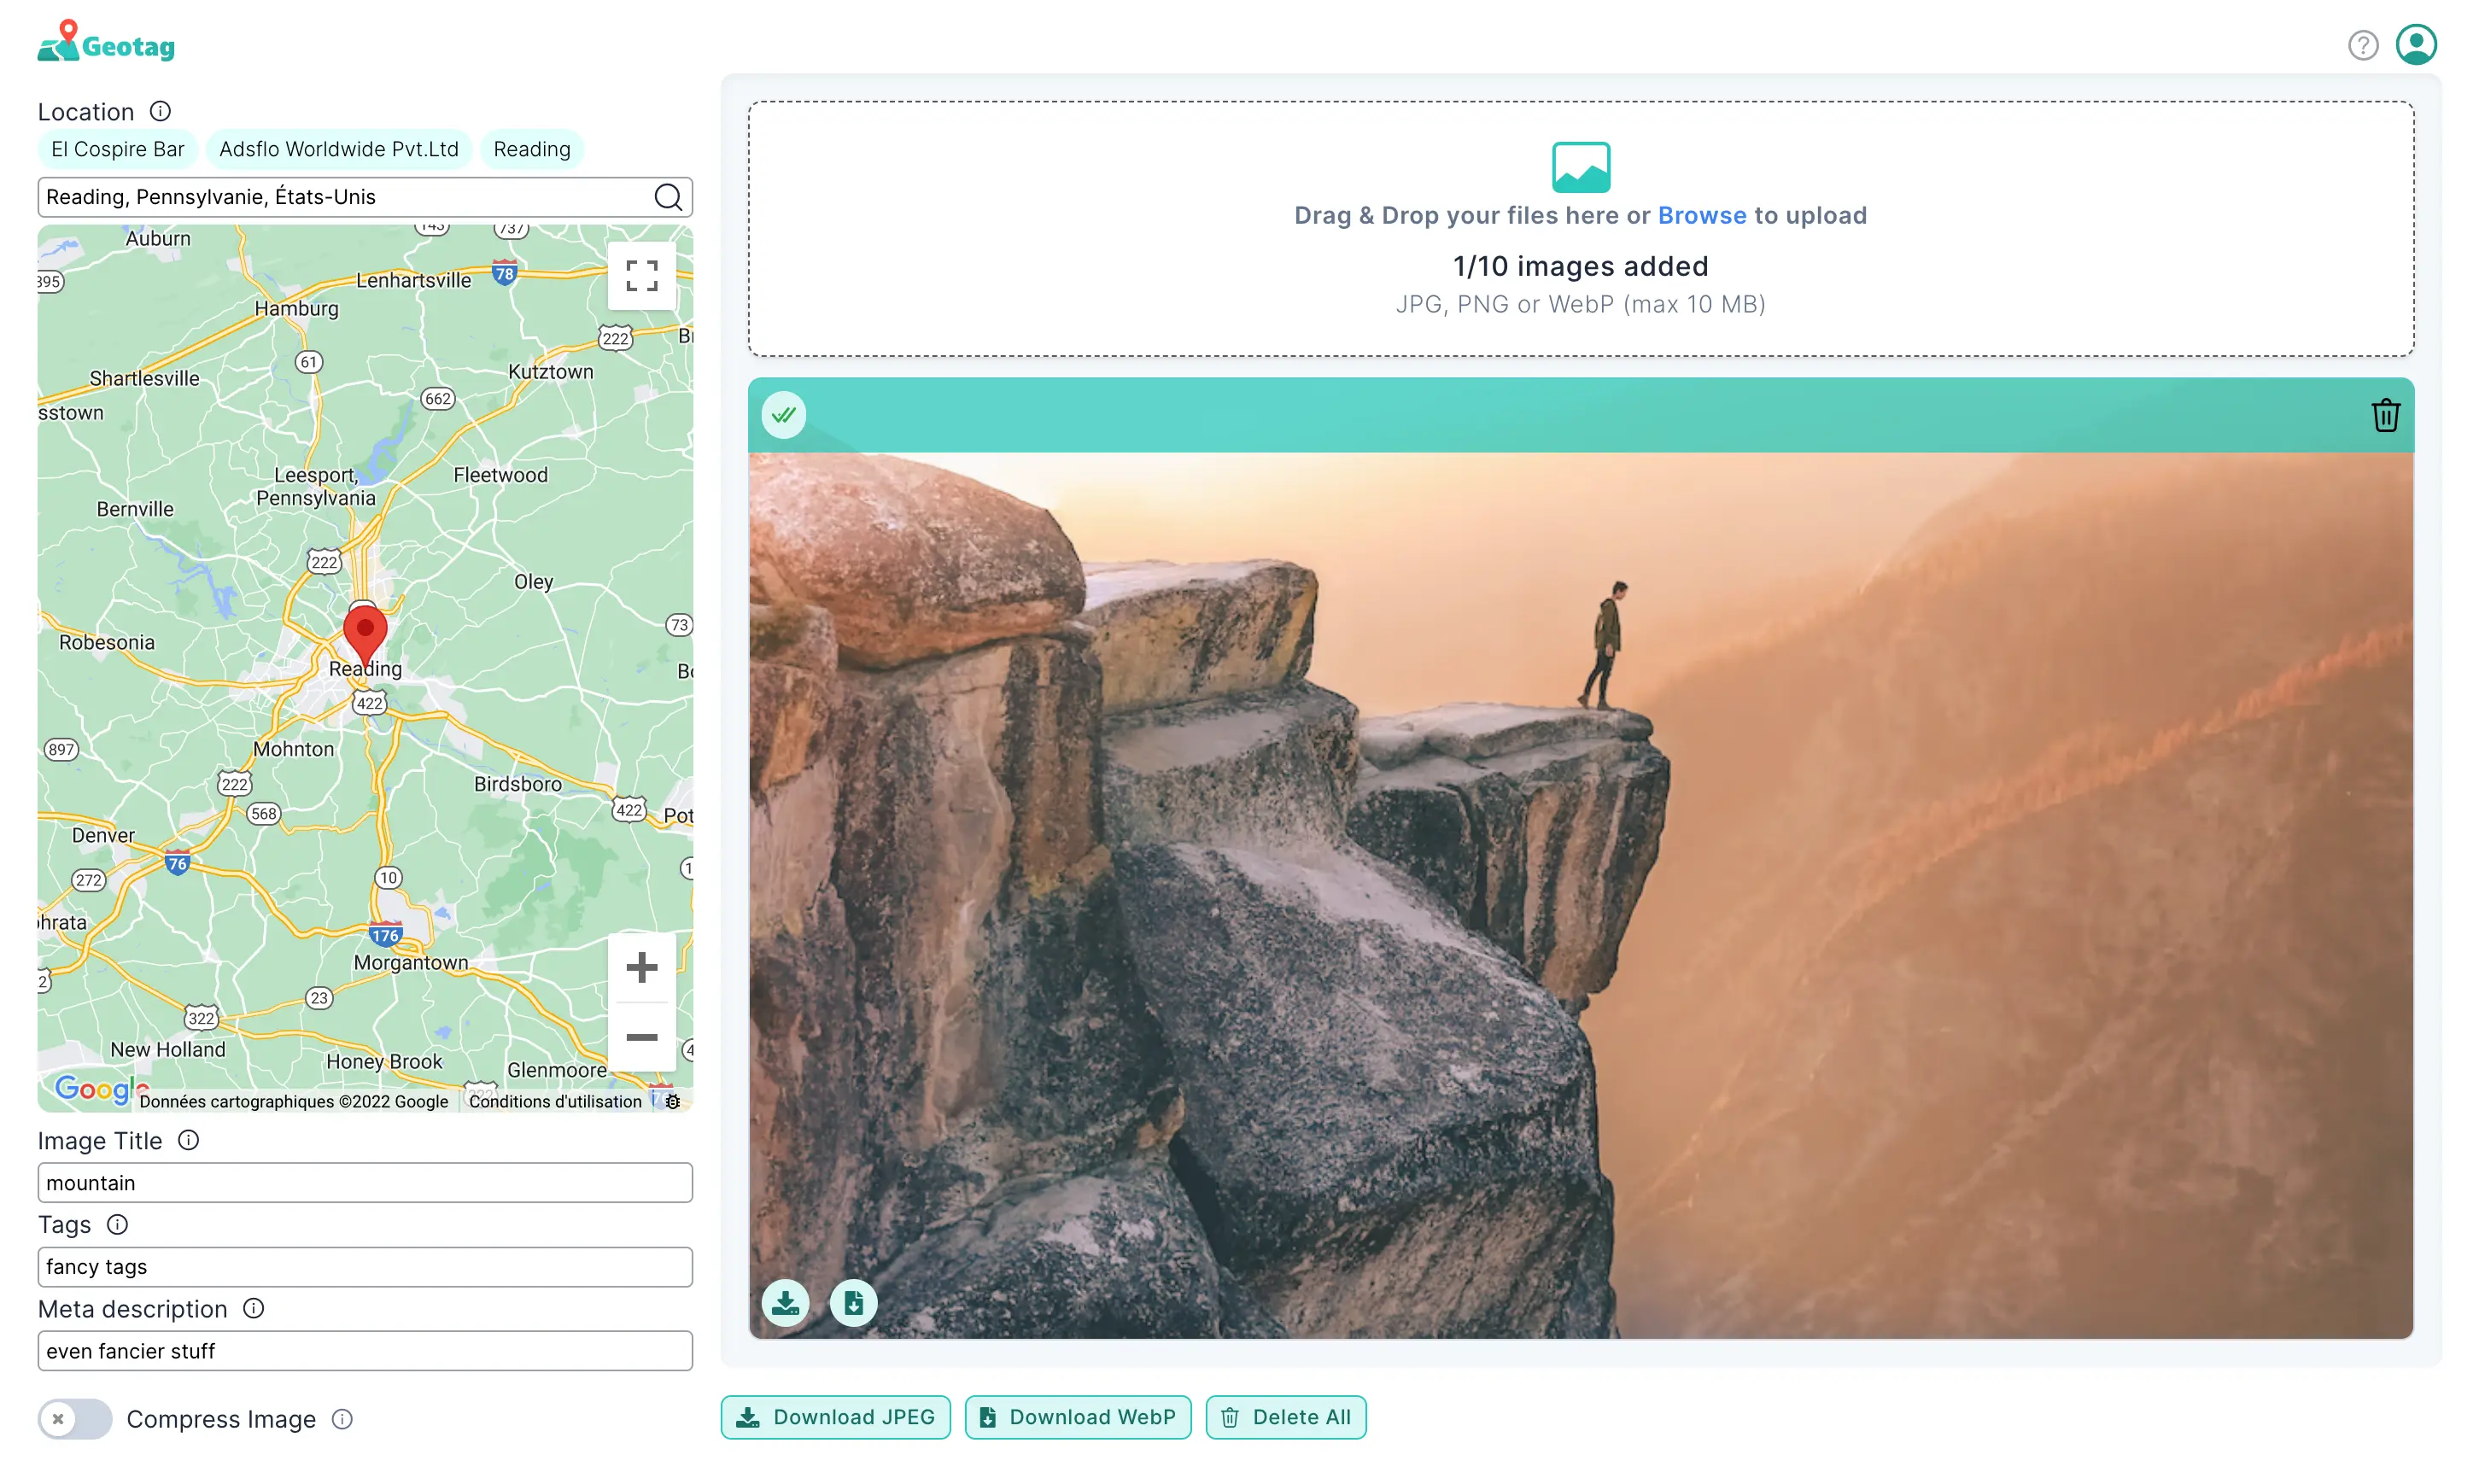
Once your photos are uploaded, the next step is to choose your preferred geolocation. Your reason for geotagging your photo will dictate how you should choose the location. You can geotag your location with an entire country, a city, or exact coordinates. If you want to optimize your photo for SEO purposes, you should tag it to your business address. You can either type in the address in the search bar or use the map to pinpoint the location. Double-check that it’s the correct location before moving on.

3. Change the image title
Your image title is an important data point associated with your photo. It’s a place where you can include essential information about your photo, including what is pictured in it and the location. For personal use, it will make it much easier for you to locate your photos on your computer if they have a descriptive image title. Where SEO is concerned, your image title is a great way to provide Google with information about what’s in the photo. Your image title should ideally be six words or less.
4. Add meta description

Your image title should be concise, meaning you can only relay limited information. But by using a meta description, you can go more into detail about your photo. A good description is the key to the success of your image once you upload it to Google or your website. Google can read text, so this is the place to be super descriptive about where your photo is taken and what is in it. For example, if your image is the one above, your description might read “sweet waffles, poached eggs and shakshuka at East Portland breakfast restaurant Cherry’s Café.”
5. Apply changes and download your optimized photo
Once you’ve added all the above data, you can click “Apply,” which will embed the data into your photo. You can then download the picture, and it will download with the new geotags.
How to geotag a photo on Google Maps
Geotagging your photo on Google Maps is a manual process. You will have to geotag your photos on your computer before uploading them to Google Maps or Google My Business. You won’t be able to geotag them on Google Maps once they are already uploaded since the geotag is in the backend of the photo. You can geotag your photo using the steps above and then upload them to your Google My Business account or Google Maps.
Missing Location in your images?
Adding meta tags to your images improves search engine performance greatly!
Try It for Free!
How to geotag a photo on social media
Geotagging your photos on your social media accounts works differently than geotagging for Google because the geotags are public instead of embedded in the backend data. When you upload a photo to your social media accounts like Facebook, Instagram, Snapchat, or Tiktok, the software will read the geotag and automatically suggest a location based on that data. It’s up to you whether or not you’d like to include this tag in your public post.
You can also choose to tag the location manually to any location you want, whether or not it matches your photo geotag. Any screenshots, created graphics, or photos you’ve downloaded from other sources will not have geotags in their metadata, so you must manually choose the location when you upload it to social media.
Geotag your photo on a computer
The best way to geotag your photo on a computer is using a geotagging tool like GeoTagSeo. Not only does it allow you to add your geotag, but you can also edit the title, tags and add a meta description. Plus, if the photo is for your website, you can even compress your image without leaving the platform. It’s an all-in-one tool to optimize your photos with geotags.


