Howto geotag with GeoTagSeo
This page describes step-by-step how to add a geolocation to your images. The steps to add a GPS location to your image are essentially the following:
- Drag and drop your photo on this page
- Set the new location on the left (Geotagging the photo)
- Change the image title (image file)
- Add a proper tag and a description
- Download your geotagged photo
Upload your image to Editor
On the editor page, you can either drag and drop any images from your computer directly into the highlighted area.
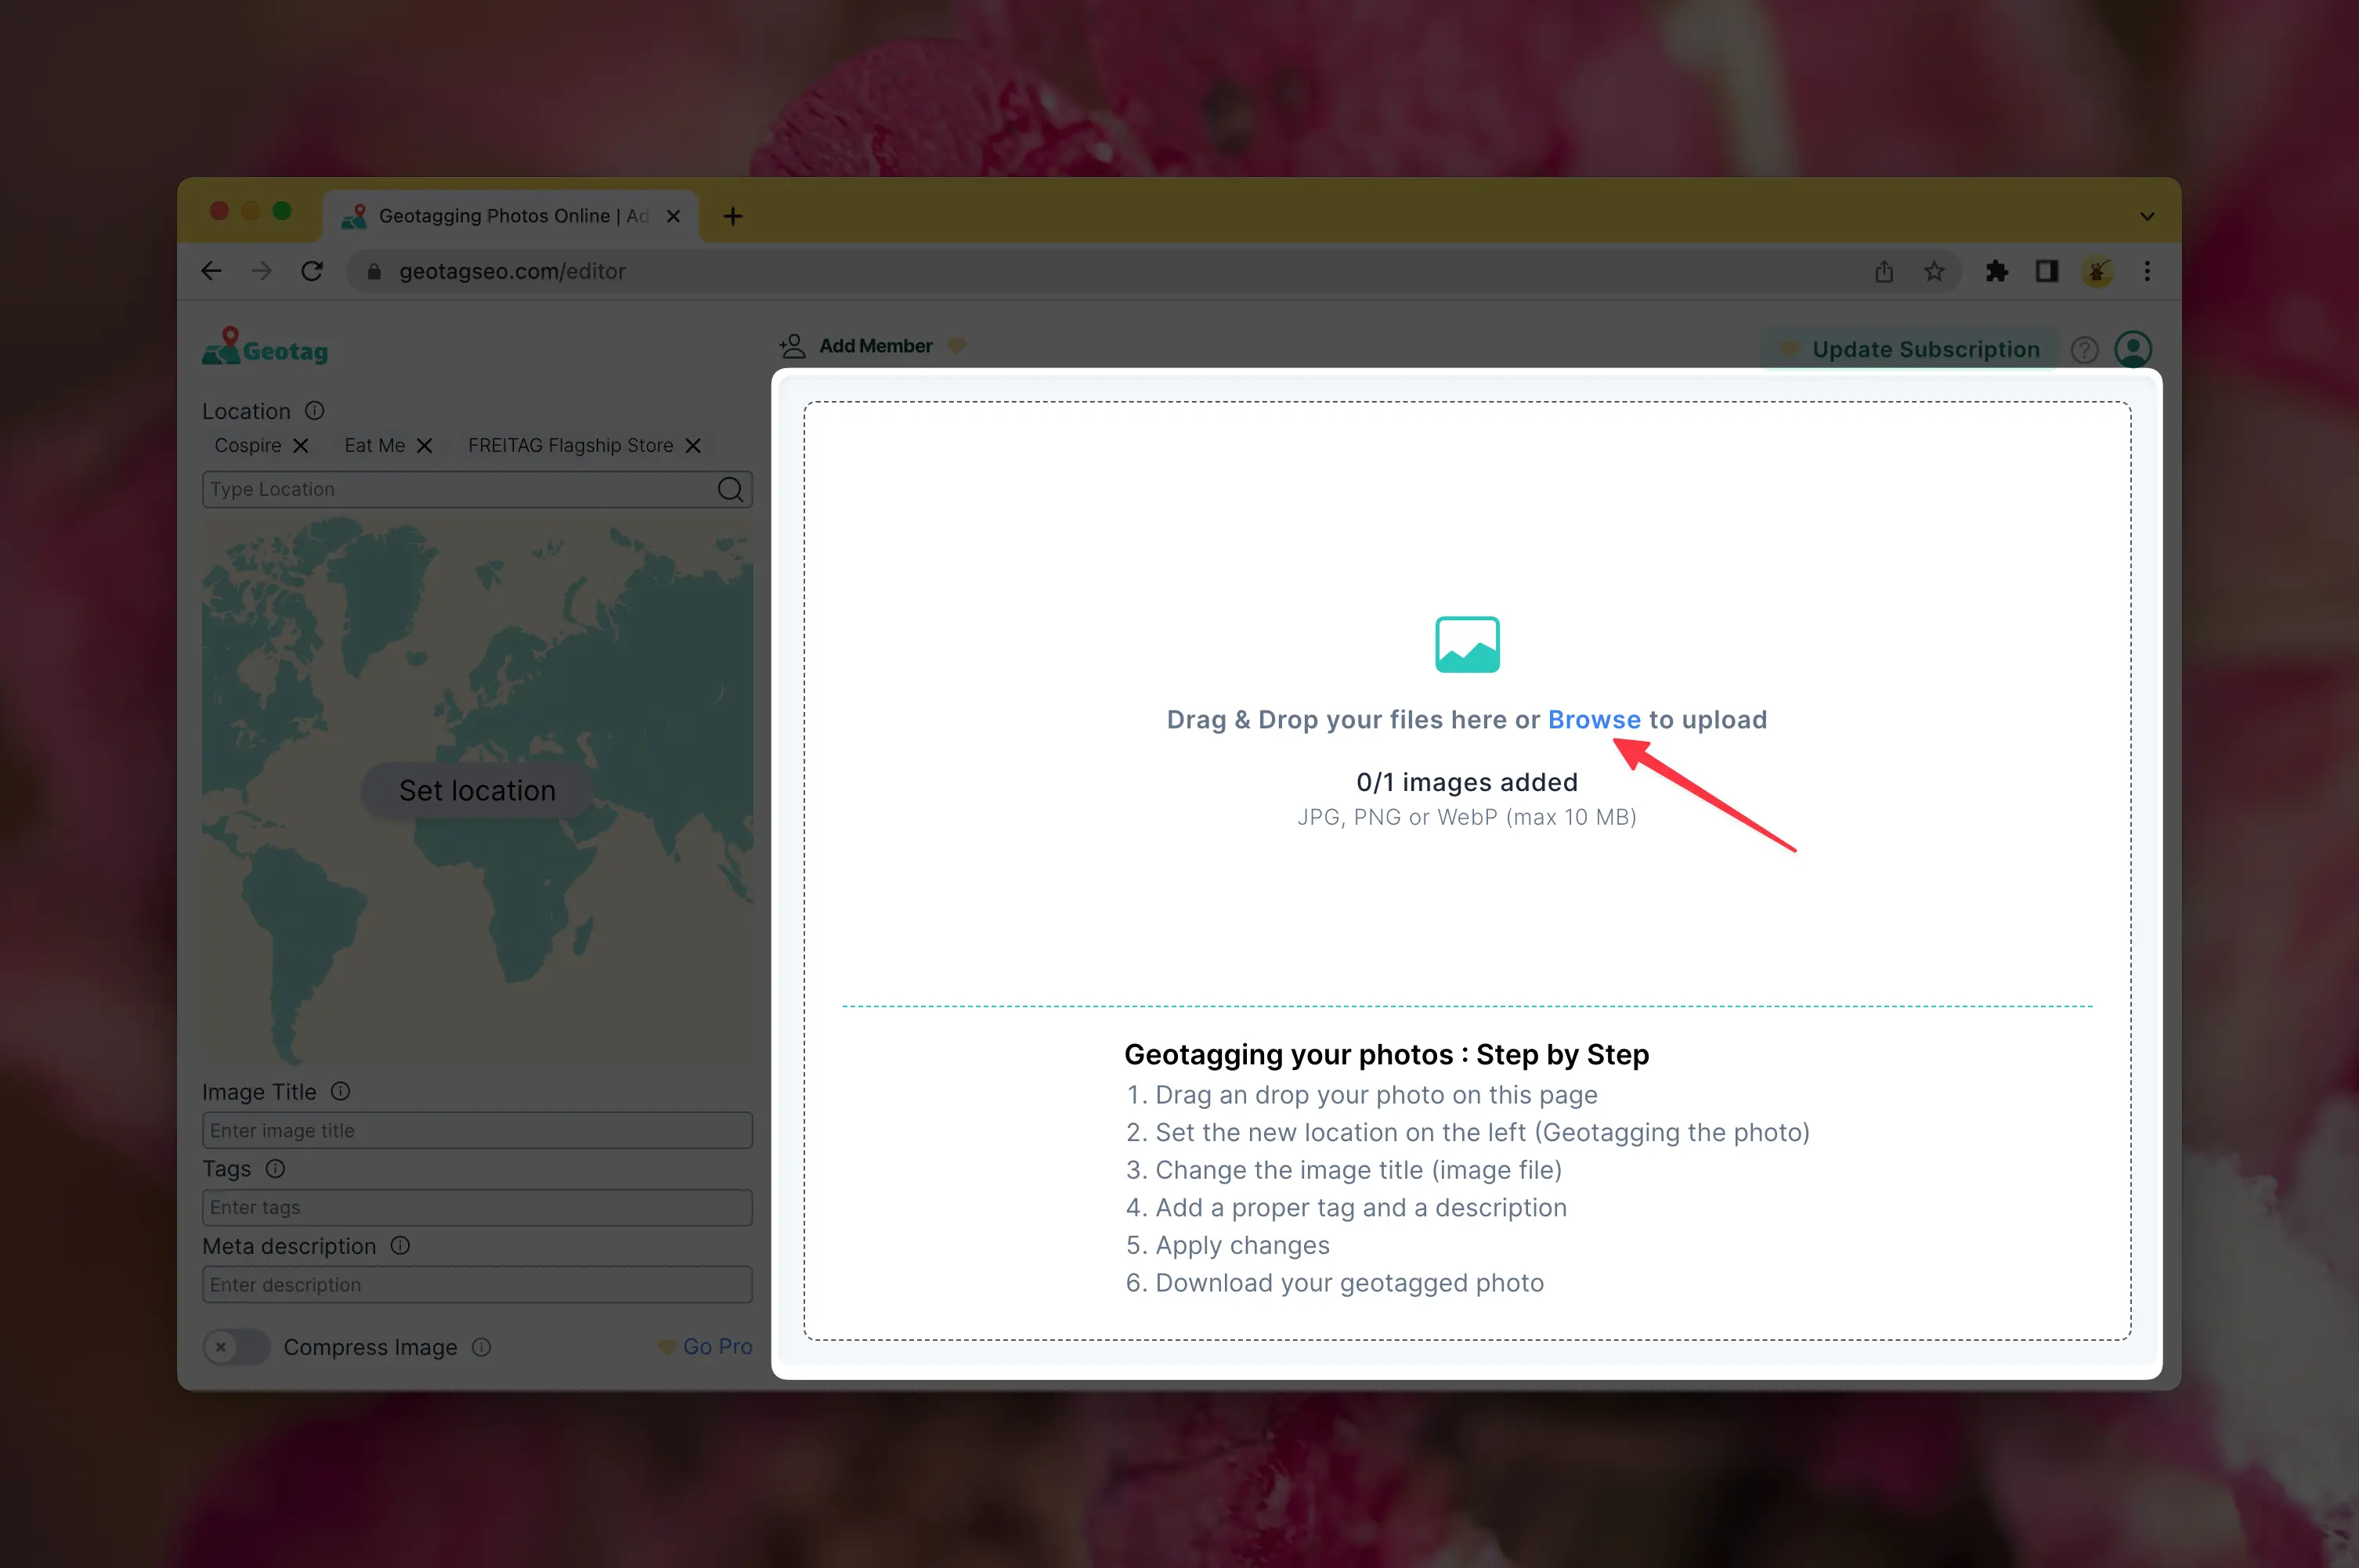
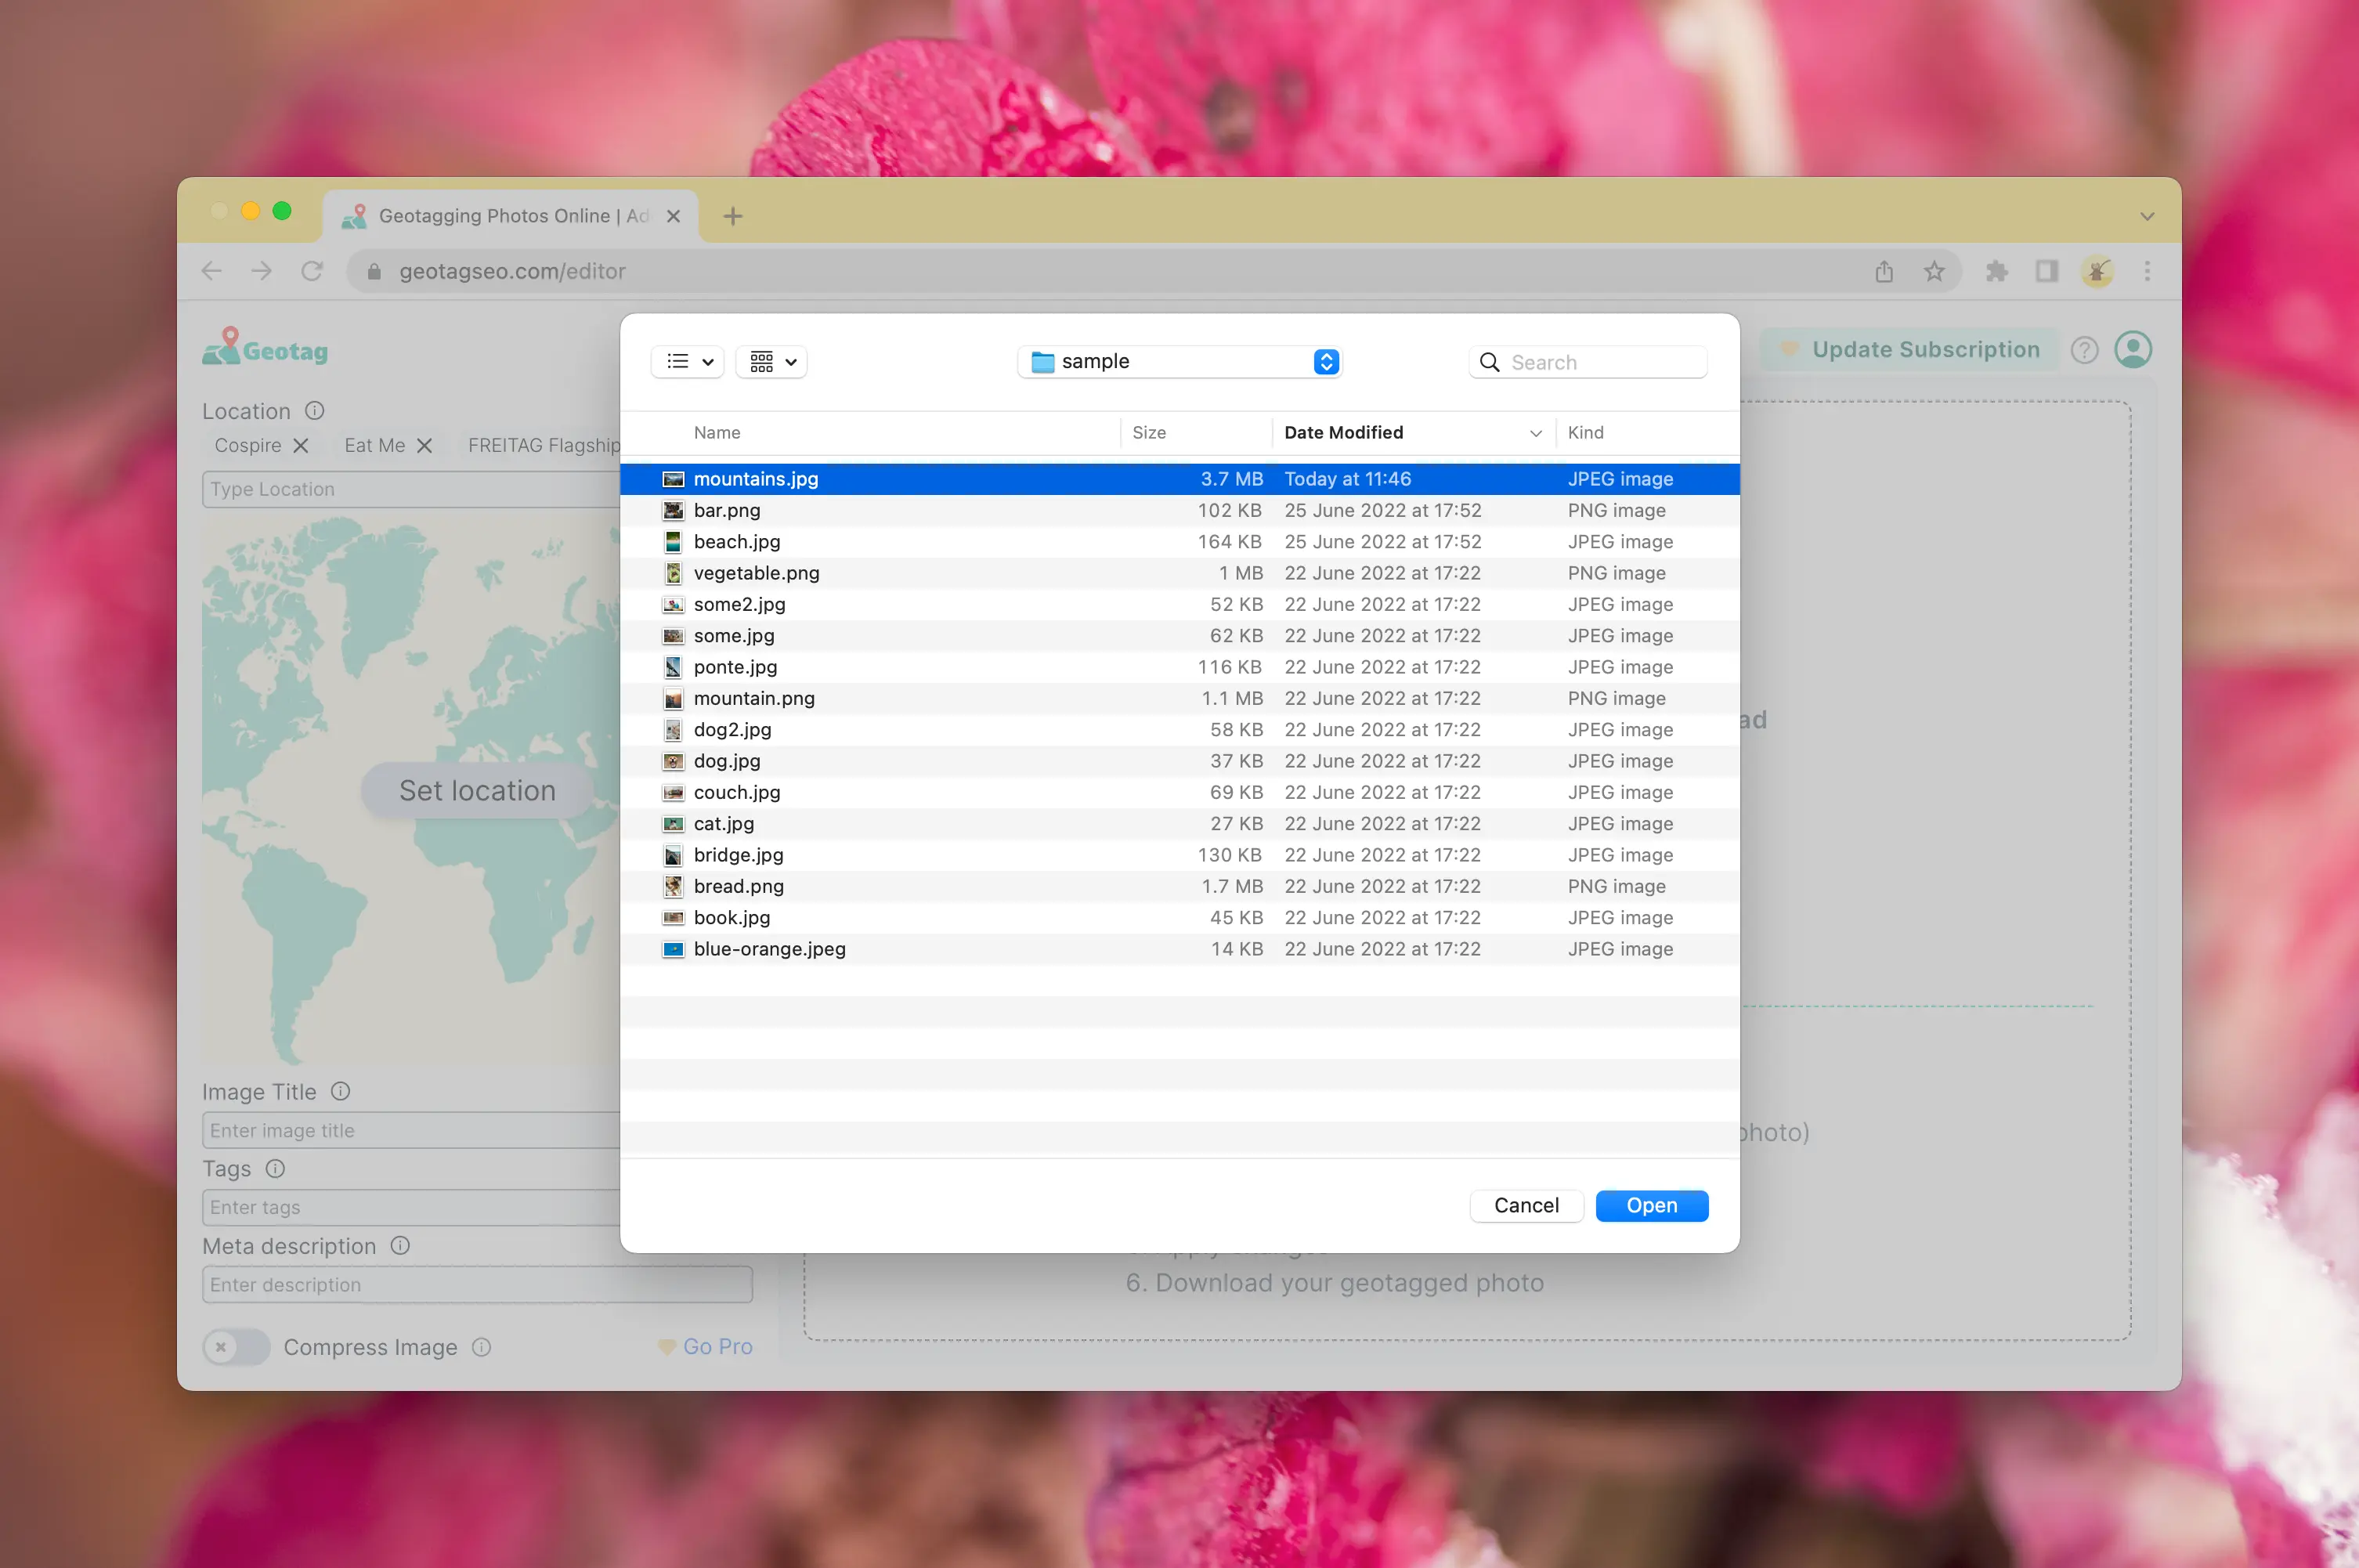
Alternatively, click on the Browse button and choose your picture.
Edit the meta tags
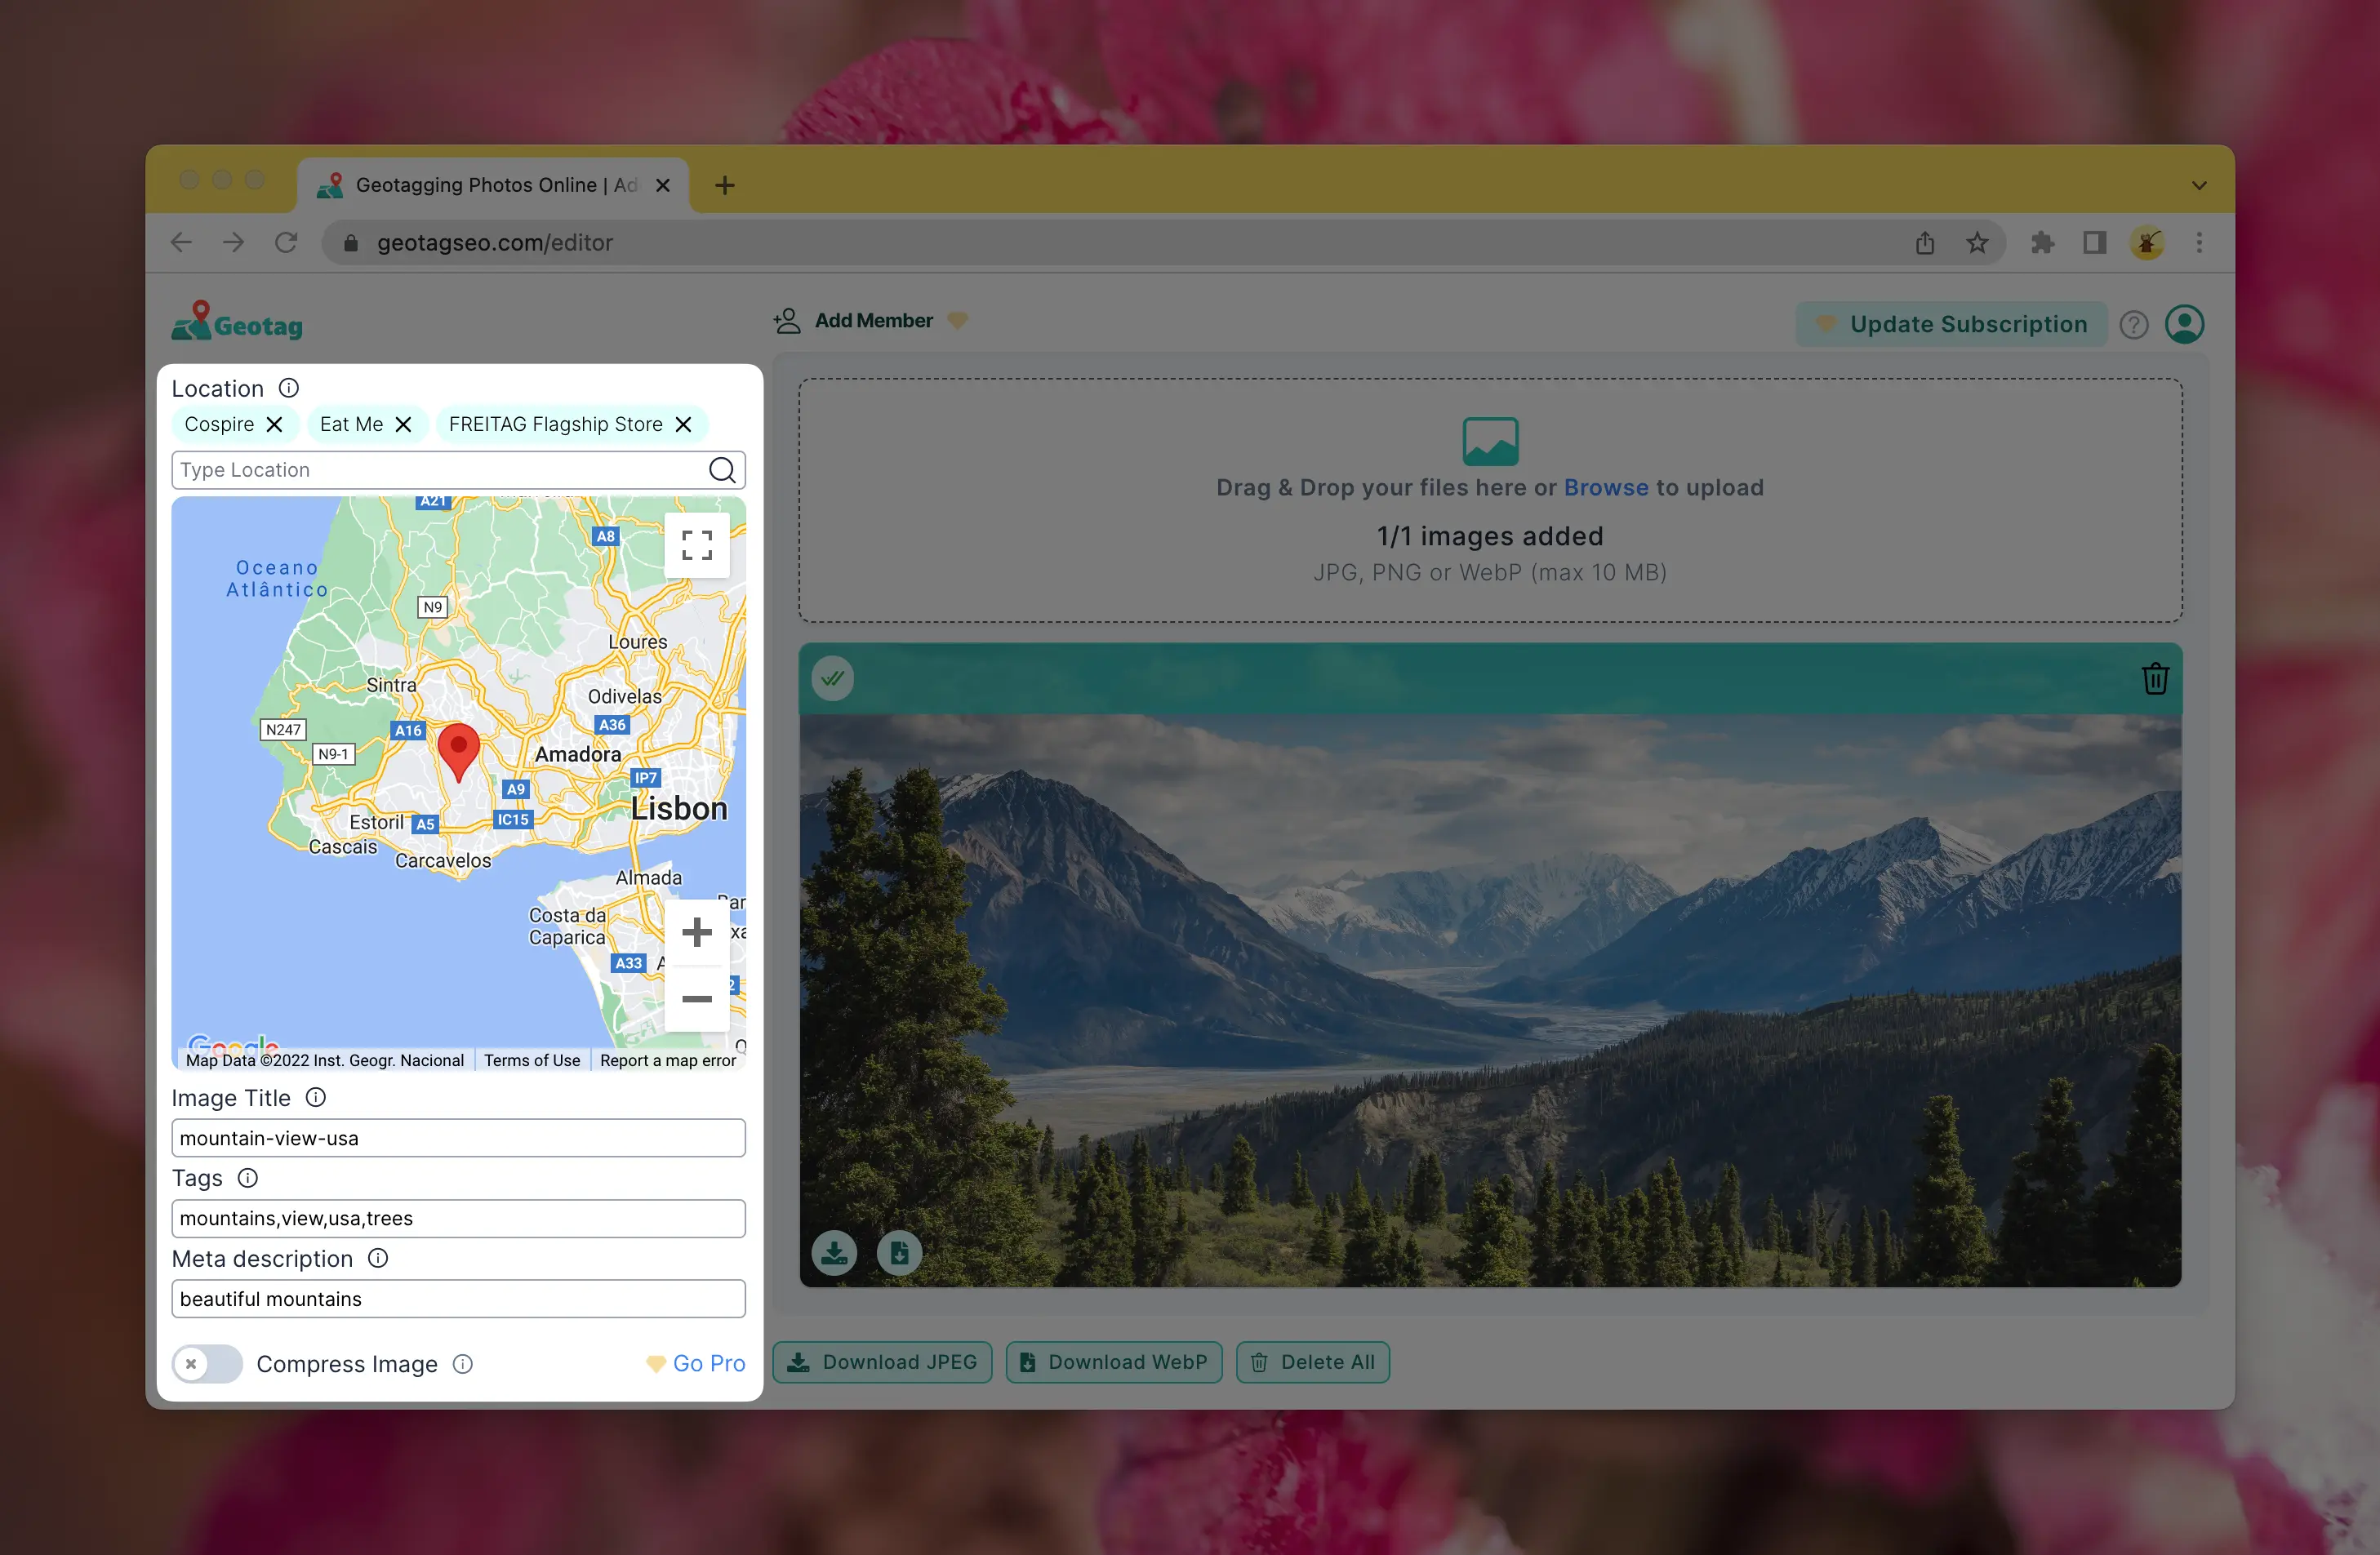
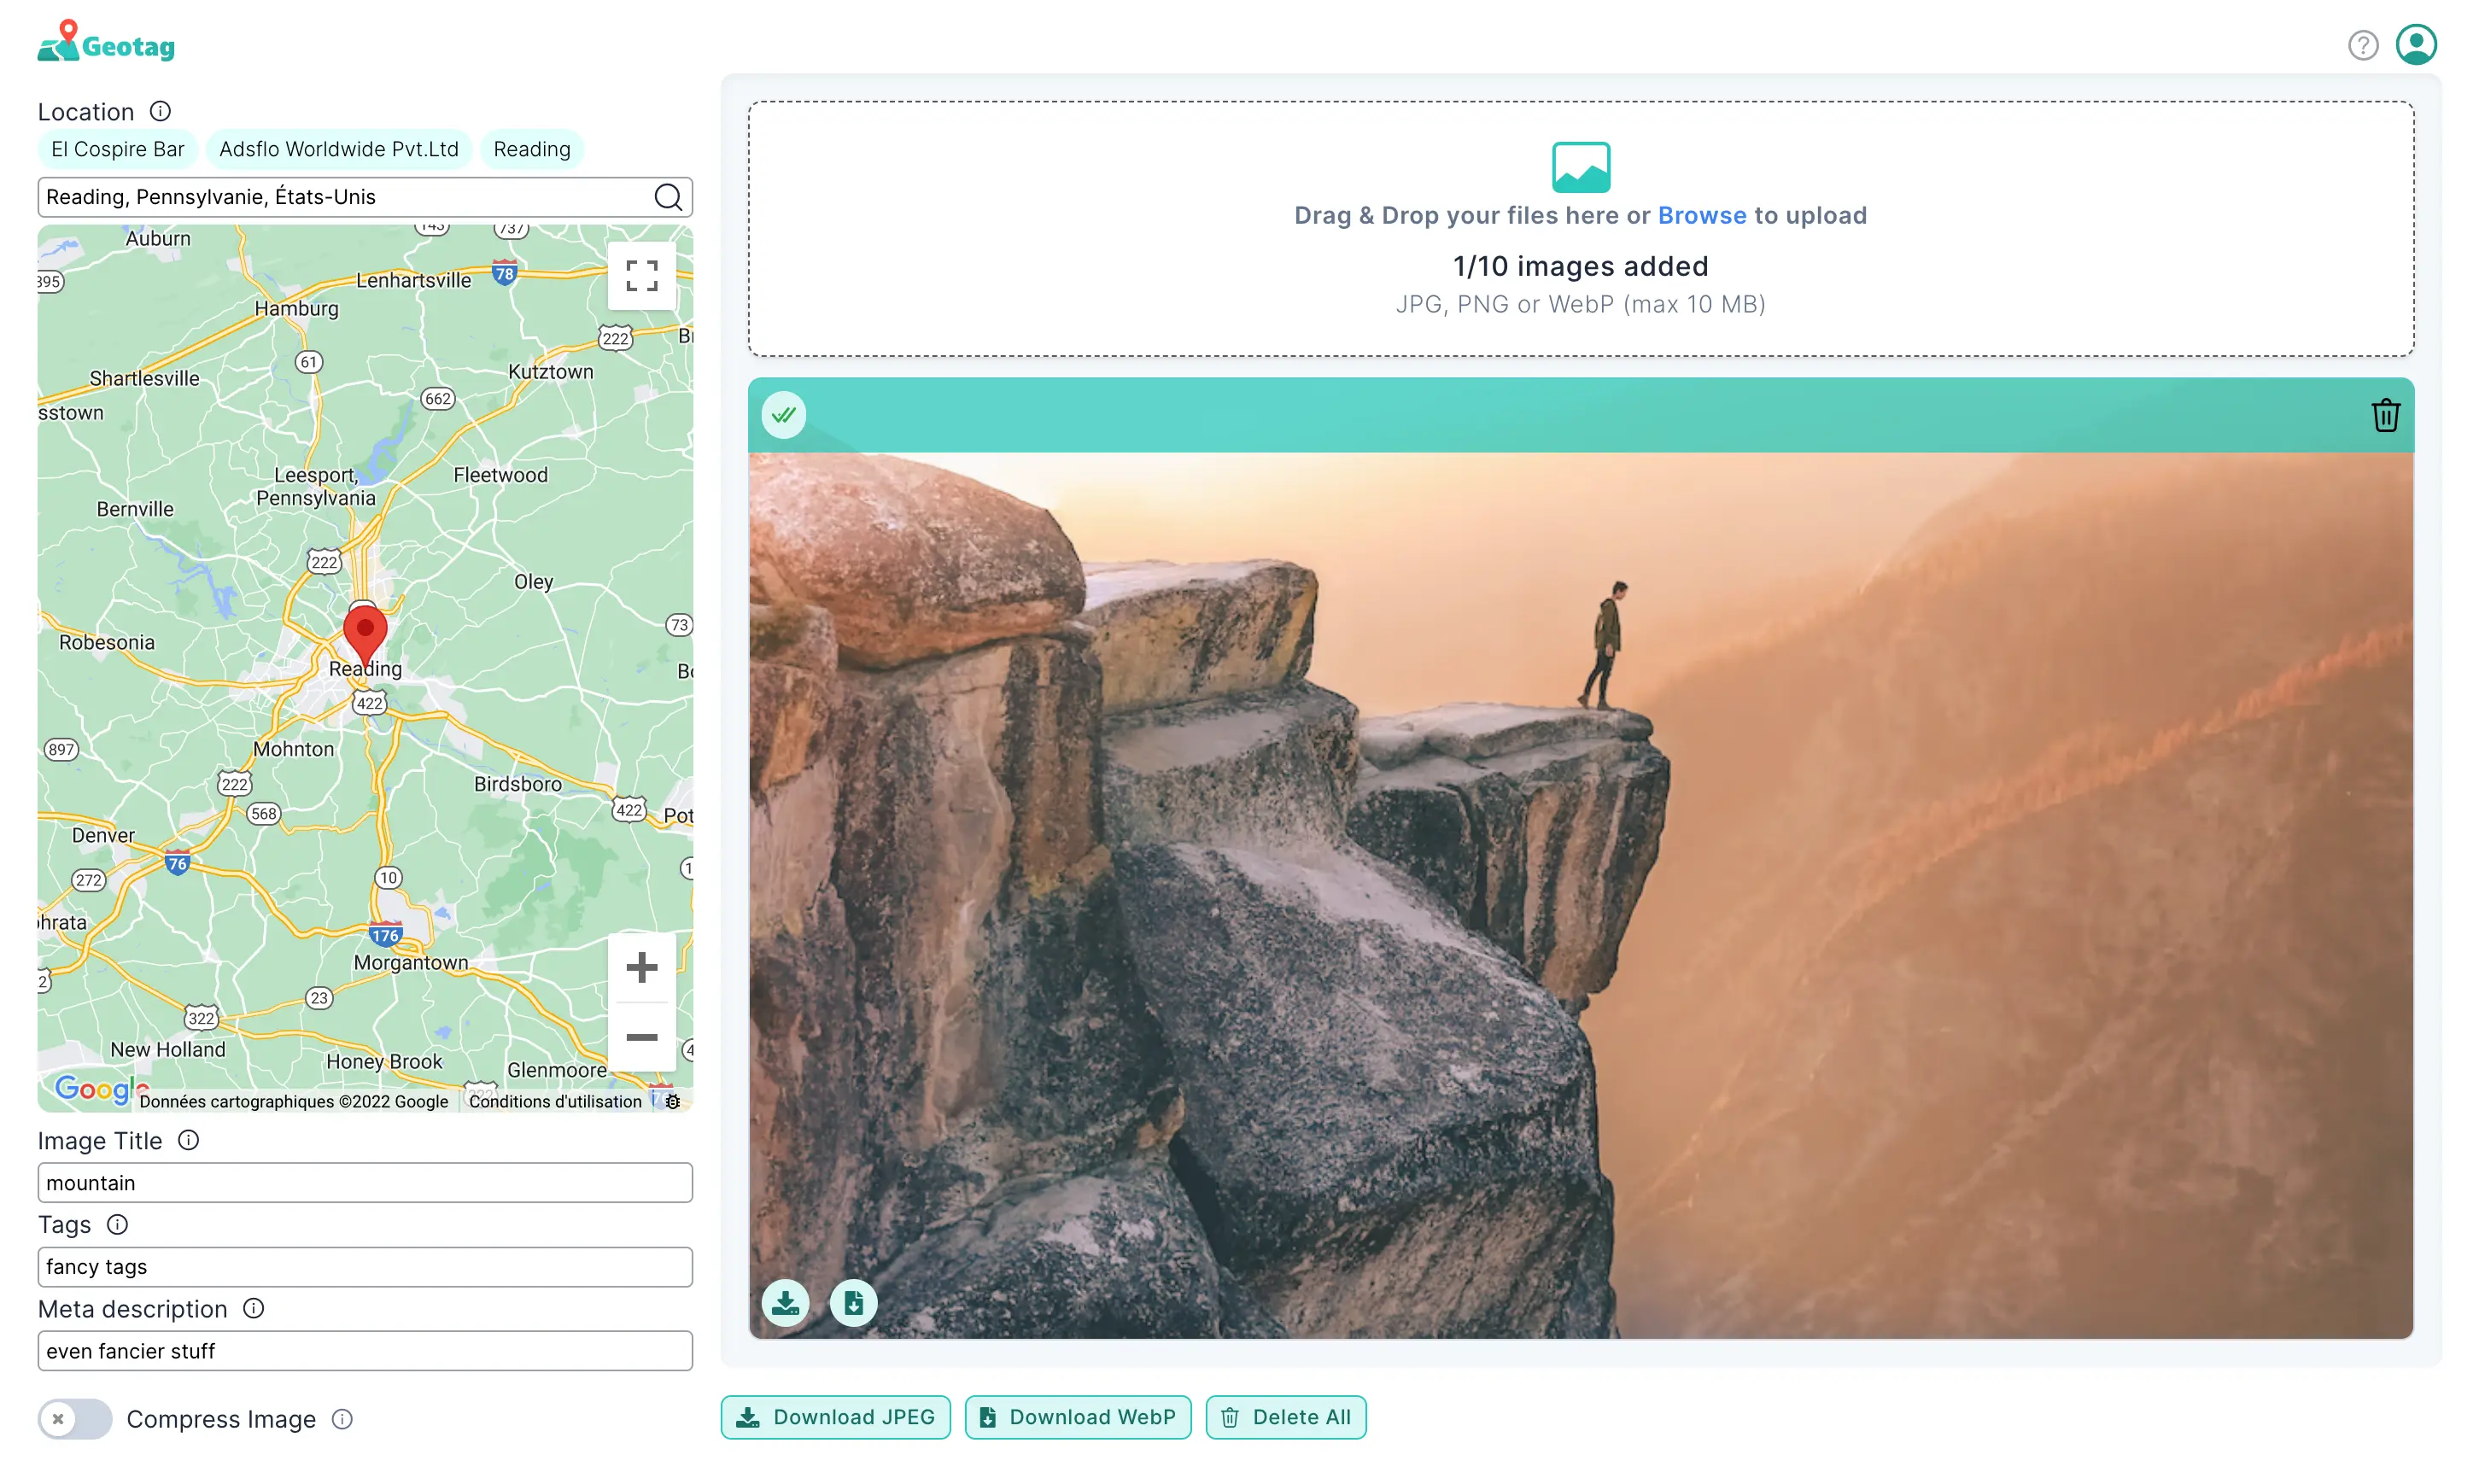
Once you have an image, the most important area is on the left, where you can edit the meta tags. On the right, you see a preview of the image.
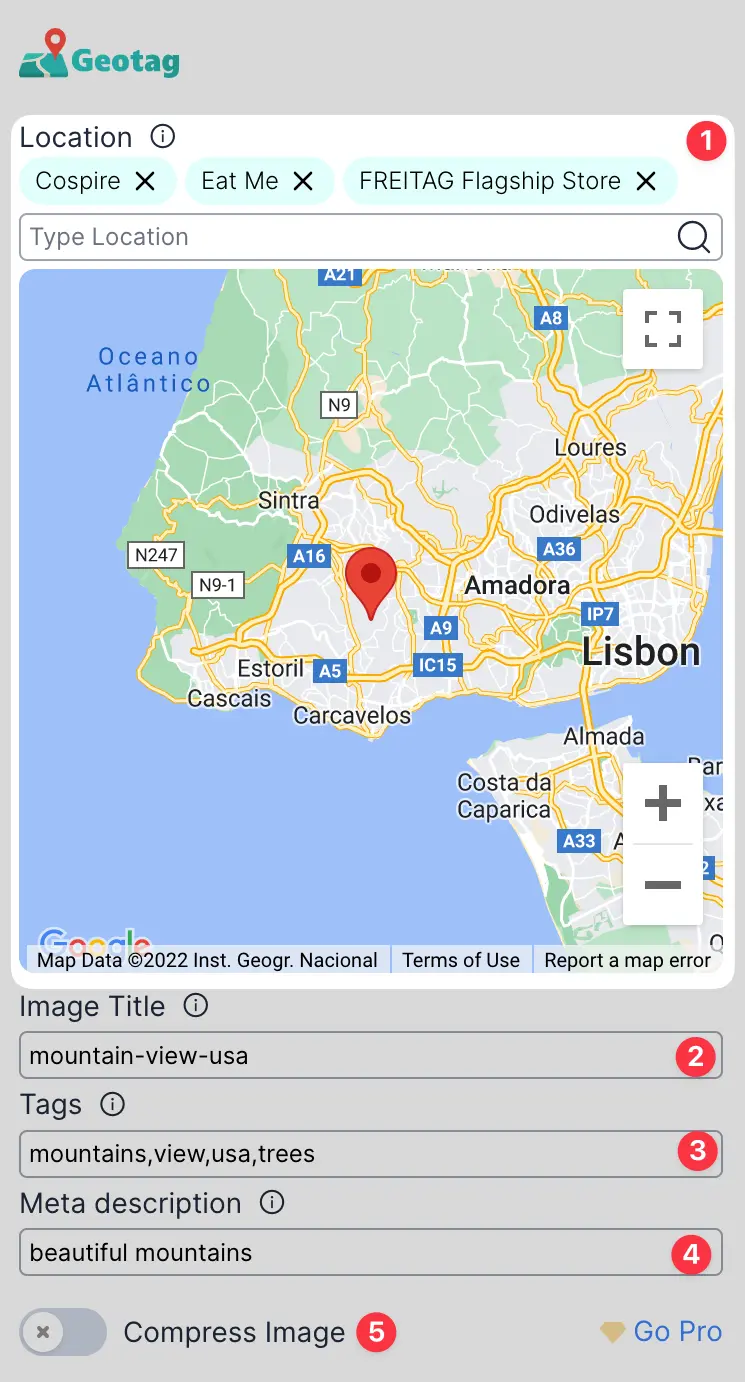
1. Location: The most important part is to set a location. You can either set a marker directly on the map, or use the search to find a location. Searching for a location is only available for Pro user.
2. Title: A good title is key to describe what you see on your image. Select a title, such that by reading it you know what the picture is about. The title is equivalent to the file name.
3. Tags: Tags are meta-information which are contained inside the file. They give additional information about the content of your image.
4 Meta description: Give a short description of what you see on the image
5 Compress: If you wish, you can compress the image when you download it back. This increase the speed of your website if you publish the image online. This is a pro feature.
Download the new file
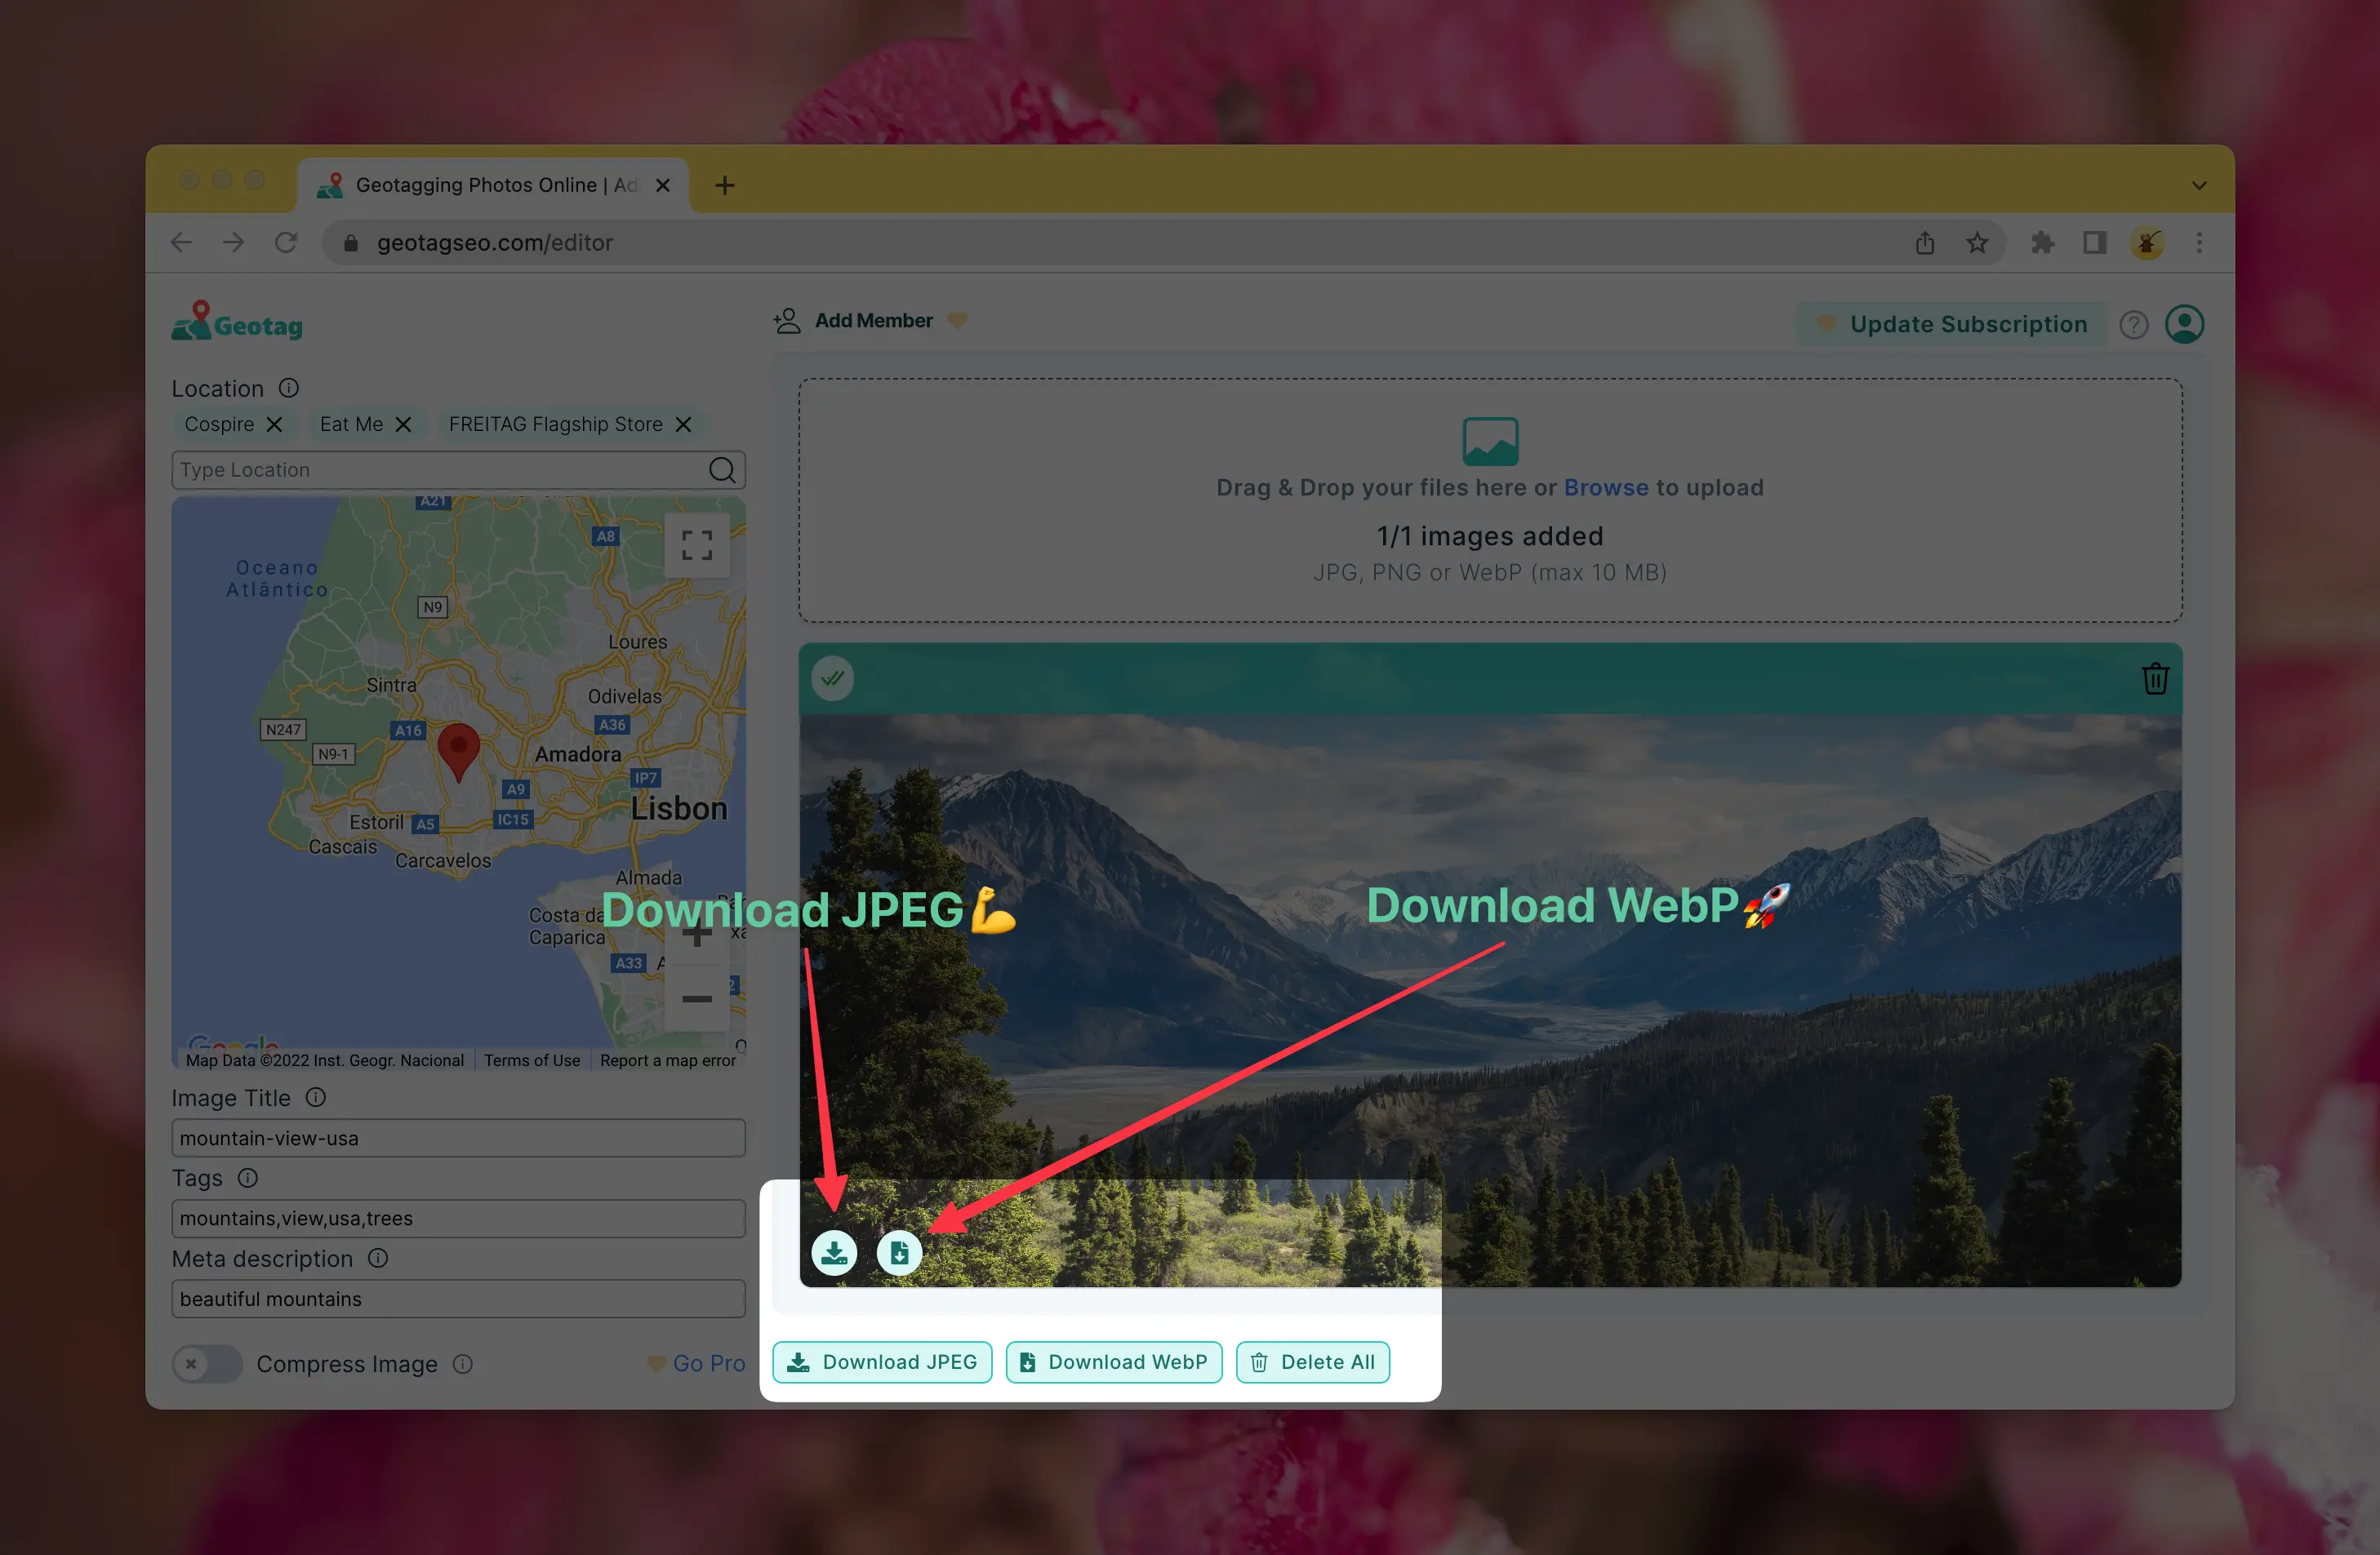
Once you have set the meta tags and location of your image, you are ready to download the image back. The newly downloaded file contains all the information you provided as a meta tag.
You can either get the image back as JPEG or WebP.
Tips and Tricks
Here are some tips, which works best in our experience:
- You can have the same image title, tags and meta description if you start changing the title
- Having same tags and meta description is better than leaving it empty
- Use JPEG on Google My Business or your social networks
- Use WebP to publish it on your own web page (improves your website performance)
Happy Testing!
Missing Location in your images?
Adding meta tags to your images improves search engine performance greatly!
Try It for Free!